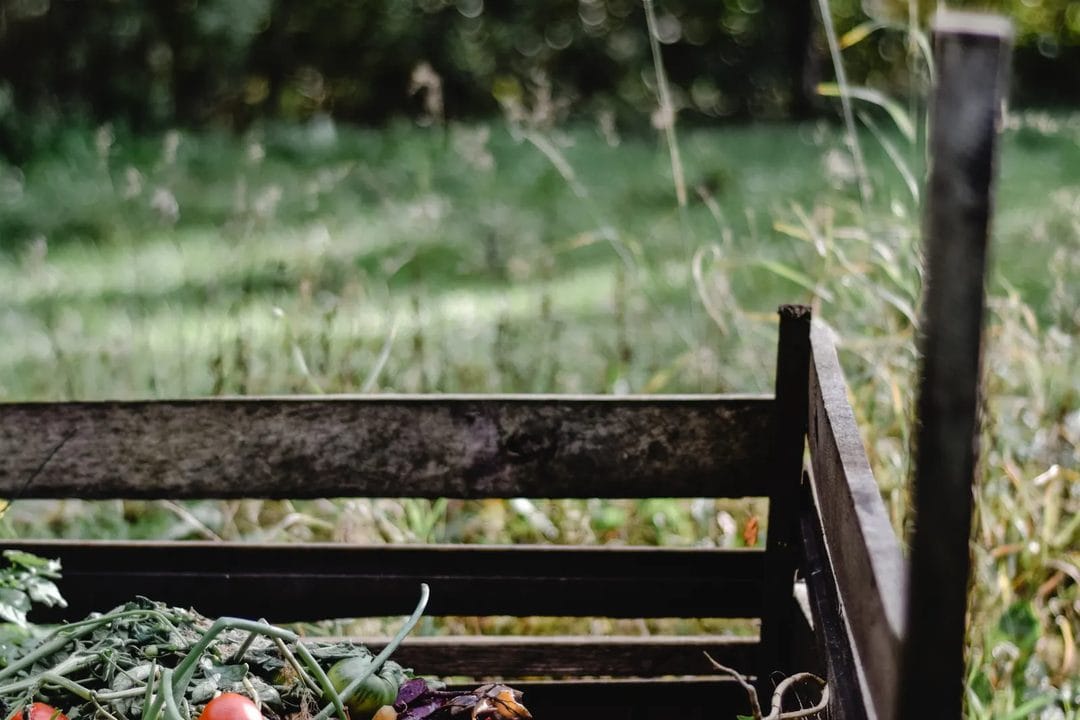
By the last week of August, most vegetable beds look tired rather than productive — the tomato vines have gone leggy, the squash leaves are dusted with powdery mildew, and the lettuce bolted three weeks ago and nobody pulled it. That tired-looking bed is actually the best opportunity of the year. Everything you clear out now, minus the diseased material, becomes next spring's soil instead of yard waste at the curb, and every week you wait past mid-September in most of the continental US cuts into how well a fall-built compost pile can break down before hard frost.
Why September Beats November for This Job
Soil microbes and compost bacteria both slow down sharply once ground temperatures drop below about 55°F, which in USDA zones 5-7 typically happens sometime between mid-October and mid-November. A pile assembled in early September still has six to eight weeks of active warm-season decomposition before that slowdown — a pile assembled after Halloween mostly just sits there until spring. Clearing beds now, rather than waiting for the first freeze to kill everything back, also means you're removing plant material while it's still soft and shreddable instead of frost-blackened and slimy, which is genuinely harder to chop and turn. Gardeners who wait until the first cold snap usually end up doing the whole job in one exhausting weekend instead of spreading it across a few easy afternoons. Weekend gardeners in particular tend to underestimate how much a single warm afternoon in September accomplishes compared with the same afternoon in late November, when the ground is half-frozen and every stem snaps instead of pulling cleanly. And a bed cleared early gives cover crops or a thick mulch layer time to establish before that same cold snap arrives, which matters more in a windy, exposed yard than in a sheltered one.
There's a practical cost angle too. A bag of composted manure at Home Depot runs $4 to $6 for one cubic foot, and most 4-by-8 raised beds need two to three bags a year to stay productive — that's $25 to $40 annually per bed just in store-bought amendment. Building your own compost from this season's plant debris, kitchen scraps, and a few bags of fall leaves doesn't eliminate that cost entirely, but it typically cuts it by half or more once the pile matures, and it keeps yard waste out of a curbside bin that, in a lot of municipalities, still gets landfilled rather than composted. Skip the bagged amendment aisle this year and put that same twenty-five dollars toward a $15 compost thermometer instead — it tells you far more about whether your pile is actually working.
What to Pull Now vs. What Can Wait
Pull immediately: anything with powdery mildew, blight, or rust — squash, cucumber, and tomato foliage are the usual suspects by late August. Leaving diseased material in the bed lets spores overwinter in the soil and reinfect next year's crop, and composting it at home is risky unless your pile reliably holds 130 to 150°F at the core for several days, which most backyard piles don't. Bag diseased material for municipal yard waste pickup instead, where large-scale facilities reach sustained high heat that a home pile usually can't match.
What can wait a few more weeks: healthy pepper and eggplant plants still setting fruit, fall brassicas just getting started, and herbs that are still producing. There's no need to rip out a productive plant on principle — the September job is triage, not a clean sweep.
Building the Fall Compost Pile: Ratios That Actually Work
The ratio that matters is carbon to nitrogen, roughly 25 to 30 parts carbon to one part nitrogen by volume, and late-summer garden waste skews heavily toward the nitrogen side since spent tomato vines, pulled lettuce, and kitchen scraps are all "green" material. Without enough "brown" carbon to balance it, a pile turns into a slimy, ammonia-smelling mess instead of crumbly compost. This is the single most common reason a beginner's fall compost pile fails, and it's also the easiest fix: shredded fall leaves, straw, or torn cardboard layered in at roughly a 3-to-1 ratio of brown to green solves it almost every time.
- Layer 4-6 inches of chopped garden debris (green)
- Top with 8-12 inches of shredded leaves or straw (brown) — a $9 bale of straw from a farm-supply store covers a standard 3-by-3-foot bin
- Add a shovelful of finished compost or garden soil between layers to inoculate the pile with microbes
- Water each layer until it feels like a wrung-out sponge, not soaked — this one matters more than people expect, and a pile that's too dry simply won't heat up no matter how well the layers are balanced
Skip the pile altogether if you don't have a dedicated bin — a simple 3-foot circle of chicken wire staked into the ground works fine and costs under $15 in hardware. What doesn't work is a loose heap with no containment at all; it dries out on the edges, attracts rodents looking for kitchen scraps, and never builds enough mass at the center to heat up.
Saving Seeds Worth Keeping
Not every seed is worth the jar space. Hybrid varieties — anything labeled F1 on the seed packet — won't grow true to type next year, so saving seed from a hybrid Better Boy tomato or a Sugar Snap pea gets you an unpredictable plant, not a repeat of this year's harvest. Open-pollinated and heirloom varieties are the ones worth the effort: Brandywine tomatoes, Kentucky Wonder beans, and most lettuce varieties will reliably produce plants like their parent.
Beans and peas are the easiest starting point for a first-time seed saver. Let a few pods dry fully on the vine until they rattle, then shell them and store the seeds in a paper envelope somewhere dark and dry, and label it — a surprising number of gardeners forget which envelope holds which variety by March. Tomato seeds need an extra fermentation step that trips up almost everyone the first time: scoop the seeds and gel into a jar of water, let it sit at room temperature for two to three days until a film forms on top, then rinse and dry the seeds on a coffee filter. Skip this step and the seeds carry a coating that inhibits germination. (A neighbor of mine skipped it two years running and couldn't figure out why her saved tomato seed had a ten percent germination rate instead of the ninety percent she'd expect from a fresh packet.) Squash and cucumber seeds follow a similar wet-processing logic, though without the multi-day ferment — just scoop, rinse well, and dry flat on a screen rather than paper, which sticks.
Protecting Perennials and Putting Beds to Sleep
Asparagus, rhubarb, and any perennial herbs need a different approach than the annual beds, since they stay in place and the job is protection rather than clearing. Cut asparagus ferns back to 2 inches once they yellow, usually in late September or October, and mulch rhubarb crowns with 3 to 4 inches of shredded leaves before the ground freezes. Skip this step on rhubarb in a zone 5 winter and you risk losing the crown entirely, which means starting a three-year-old plant over from a $12 root division. Perennial herbs like oregano and thyme are tougher than most gardeners give them credit for, but a light mulch still buys real insurance against a hard, snowless cold snap. Strawberry beds fall into this same category and get skipped more often than they should — a 2-inch straw mulch laid after the first light frost, not before, protects the crowns without smothering them while they're still slightly active. Blueberry bushes, by contrast, need almost nothing this time of year beyond a check on mulch depth around the base, since they're dormant-hardy well past what most other fruiting perennials in a home garden can tolerate.
For beds that are done for the season, a 2 to 3 inch layer of shredded leaves or straw laid directly over bare soil does more good than any bagged product on a garden center shelf. It suppresses winter weeds, protects soil structure from freeze-thaw heaving, and breaks down by spring into exactly the organic matter next year's seedlings need. Skip the black plastic sheeting some big-box stores sell for "bed prep" — it blocks water and air from reaching the soil and does nothing for the biology living in it. Mulch instead, and the soil underneath stays alive all winter rather than sealed off from it.
The One Thing Worth Skipping
Tilling a bed clean in fall feels productive, and plenty of gardening advice from decades ago still recommends it. Don't. Fall tilling exposes the soil's fungal network and dormant beneficial insects to weeks of freezing and thawing before anything can re-establish in spring, and it brings buried weed seeds up to a depth where they'll germinate the moment the soil warms. A no-till approach — clear, mulch, and leave the soil structure intact — consistently produces stronger spring germination in home garden beds than a tilled one does, which is the opposite of what most people assume.
Whatever gets left over after the pulling, chopping, and mulching is done usually fits in a single wheelbarrow load per 100 square feet of bed. That's the whole job for most backyard vegetable gardens, and none of it requires a trip to buy new bags of amendment. By the time the first hard frost actually shows up, the pile built this week will already be halfway to finished.